10 EASY STEPS TO DOWNLOAD AND INSTALL VIRTUAL BOX
Have you ever wanted to try out a new operating system (OS) like Linux but worried about wiping your entire hard drive? Or maybe you’re a developer who needs to test software on different platforms? Virtualization is the answer!
Before diving into the steps, in simple terms, let’s talk about virtualization and VirtualBox for those who might be new to the concept:
Virtualization is the process of creating a virtual (rather than actual) version of something, such as a virtual operating system, server, storage device, or network resources. This technology allows you to run multiple operating systems simultaneously on a single physical machine. It’s like having several computers within one computer.
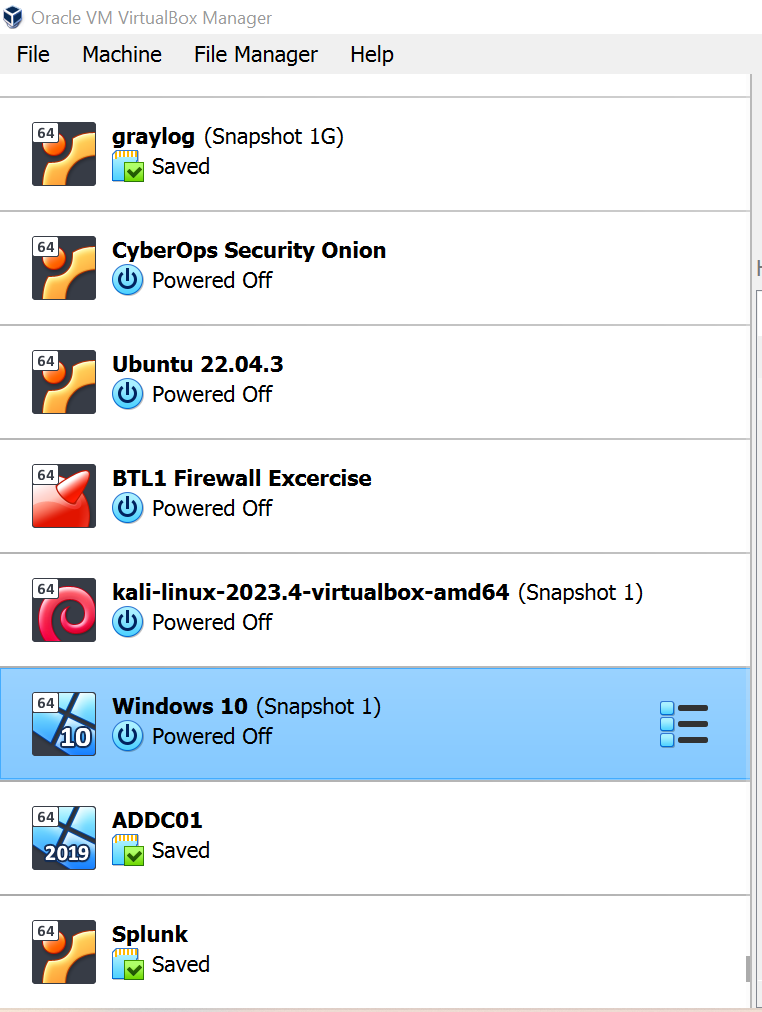
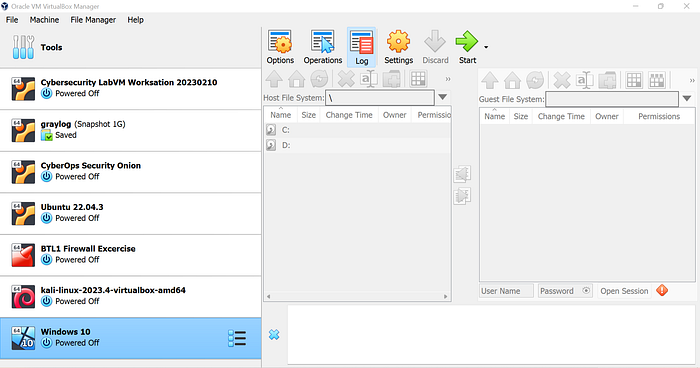
VirtualBox is one of the most popular free and open-source virtualization platforms developed by Oracle. It enables users to run multiple guest operating systems (OS) on a single host computer. Whether you’re a software developer, IT professional, or simply someone who wants to explore different operating systems without altering your main setup, VirtualBox provides a convenient solution. Below is an example of a Virtual Box with different OS:
Now, let’s move on to the steps to download and install VirtualBox:
STEP 1: To download and install Virtual Box navigate to the VirtualBox website: www.virtualbox.org

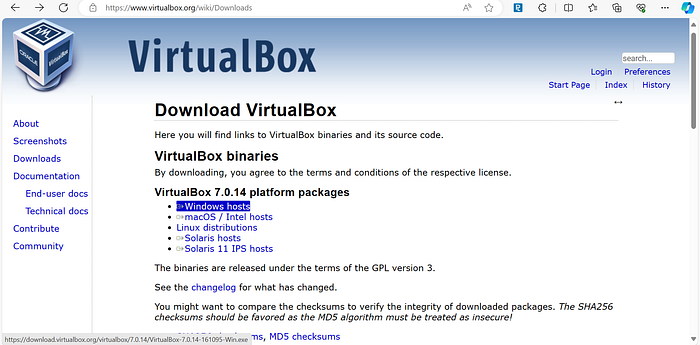
STEP 2: Scroll down the homepage and locate the “Download VirtualBox 7.0” button then click on it.

STEP 3: Depending on your operating system (e.g., Windows, macOS, Linux), select the appropriate version to download. Since I’m using Windows, I clicked on the “Windows hosts”.
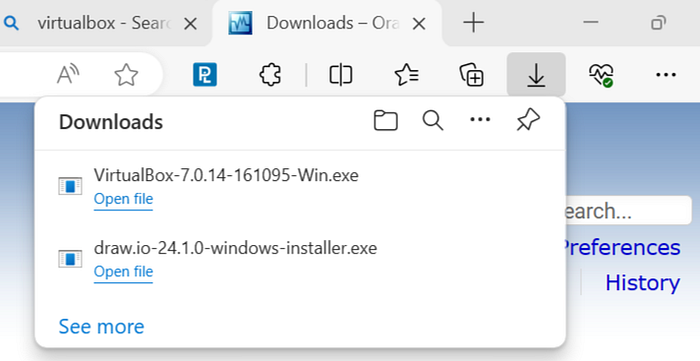
STEP 4: Once the download is complete, navigate to your download directory and open the VirtualBox installer file.
STEP 5: Begin the installation process by following the prompts provided by the installer. Click “Next” to proceed.

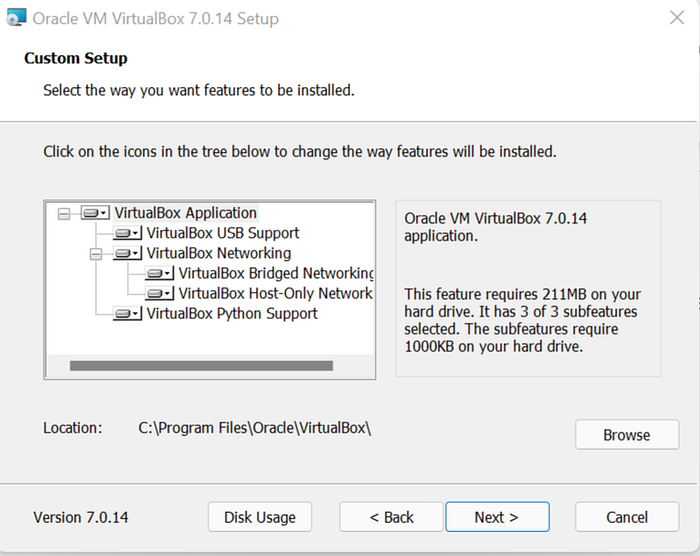
STEP 6: You’ll be presented with options to customize the installation (this is optional); Also, you can change where you want the virtual box to be installed for example, if you do not have enough space in the “C:” drive you can always install it in a different drive. But for the walkthrough, we would go with the default and click “Next”.
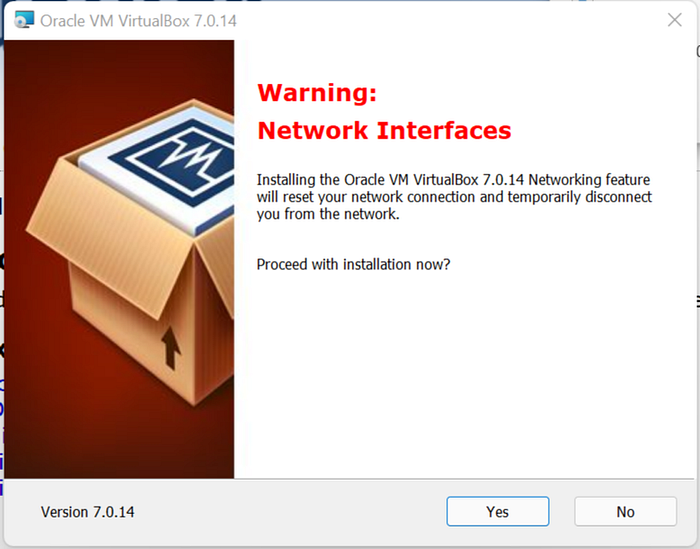
STEP 7: You’ll be presented with the “warning network interfaces” Do not panic, just click “yes” to install the needed dependencies.
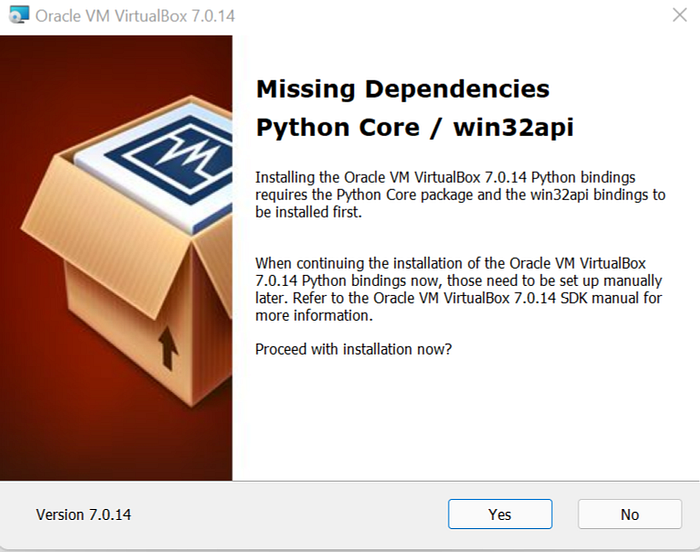
STEP 8: Continue with the installation by clicking “Yes” to confirm the installation process.
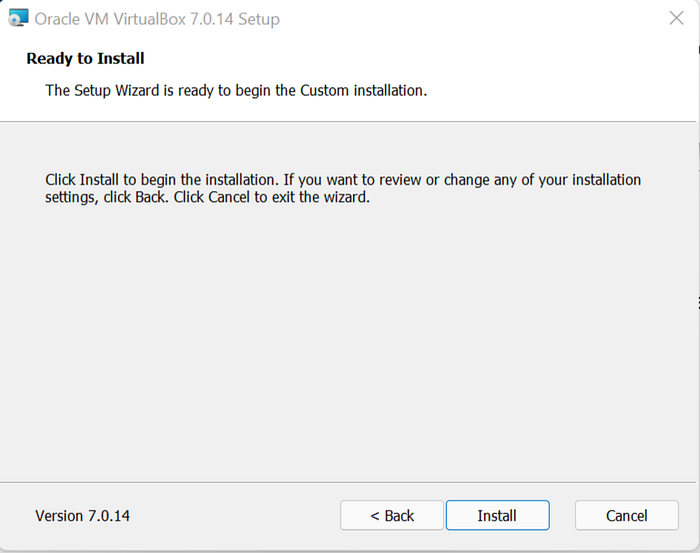
STEP 9: Complete the installation by clicking “Install”.
STEP 10: After the installer completes the necessary steps and the installation is complete, click “Finish” and VirtualBox will automatically launch, ready for you to start using.

Congratulations! You’ve successfully installed VirtualBox. Now you’re ready to create your first virtual machine and explore different operating systems.
In conclusion, VirtualBox offers a versatile and user-friendly platform for virtualization, allowing users to experiment with different operating systems and software configurations without the need for separate physical hardware. By following these simple steps, you can quickly download and install VirtualBox on your computer and begin exploring its capabilities.
Happy virtualizing!
Don’t forget to subscribe, follow me on Linkedin [link here: https://www.linkedin.com/in/ekedoro-elizabeth] or Twitter [link here: https://x.com/Lizettle_?t=ikPzXlgEZL-B9NnEOp32ZA&s=09], and feel free to send a personalized message.
Until next time — Stay cyber-awesome!